
What you will need
- Hellers Ham on the Bone
- Large carving board or ham stand if you have one
- Sharp carving knife
- Meat fork
Instructions
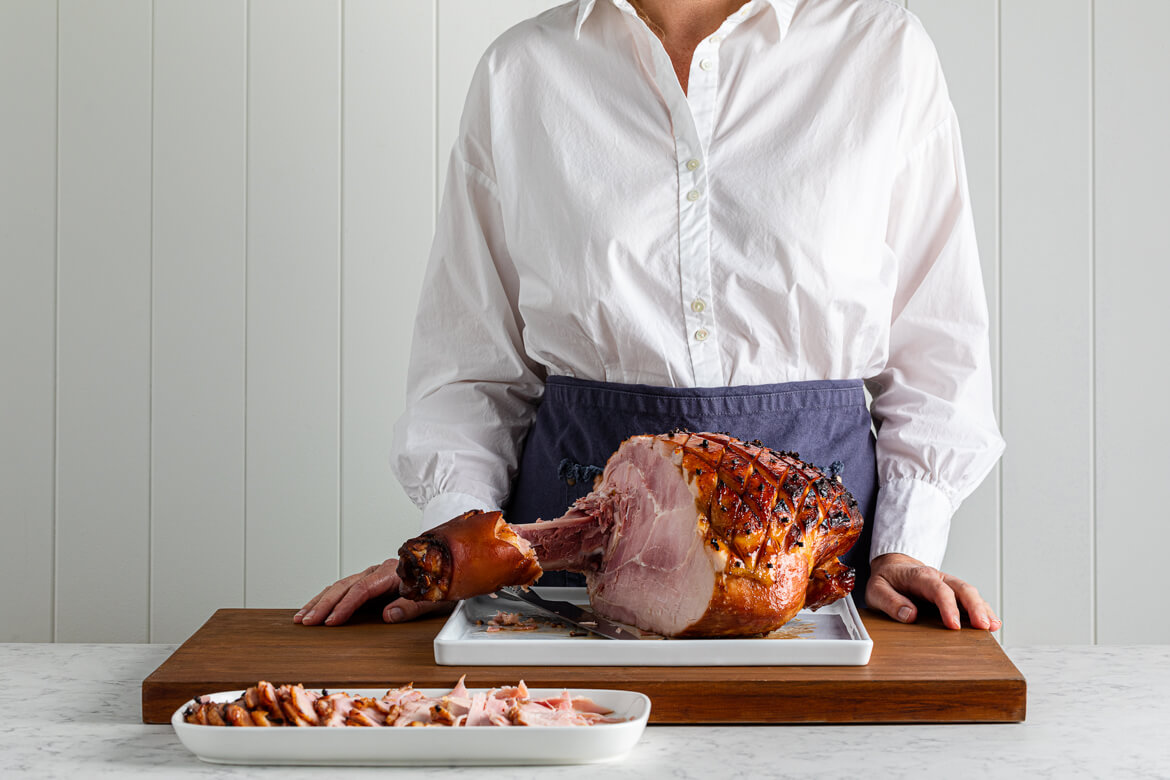
- Stabilise - place ham glazed side up onto a flat work surface or serving platter, use a ham stand if you have one. If it is wobbly then slice a small piece of ham off underneath to stabilise it.

- Score the Hock - steady the ham with a meat fork or firmly holding the hock end with one hand use your other hand to run the tip of the knife around the bone, continue right round to the underside of the ham moving the ham as required.

- Slicing - begin to slice on a slight angle down to the bone. Run knife lengthways along to remove slices, slicing towards the hock.

- Slicing and Bone Removal - continue slicing down to the bone, working your way around the ham. You can remove the bone by making a few shortcuts at the joint.

- Presentation - as you slice and cut away the ham from the hock area place it directly onto a serving platter. Only slice what you think you will need as the ham stores better still intact
STORING
- Once opened, store in the fridge at 4C and it will keep for up to three weeks. If you have a bar fridge or a spare fridge in the garage this is ideal as it isn’t opened as much and keeps the ham for longer.
- We suggest either storing your ham in the open air of the fridge or if you want to cover it, just loosely cover with baking paper or foil – it is better to keep the ham dry.
- The ham freezes well for up to 3 months. You can either freeze in large chunks which is better for the condition of the ham or slice and place into containers before freezing.

NZ Free Farmed Cooked Half Ham on the Bone
Succulent New Zealand ham on the bone - a tradition that can't be beat! Gather the troops. Let's celebrate!
